Drywall Taping Company
Drywall Taping, Plastering, skim coat
We deliver top-notch drywall taping services in the heart of Brooklyn. With years of experience and a team of skilled professionals, we are dedicated to providing high-quality craftsmanship and unmatched attention to detail.
Whether you are renovating a residential property or upgrading a commercial space, our expertise and dedication to customer satisfaction set us apart from the competition.
About Us: Our Company and Expertise
Our team of experienced professionals is dedicated to providing top-notch drywall taping services in New York City. Our skilled technicians are equipped with the knowledge and skills to tackle any drywall taping project with precision and care. From small repairs to large-scale installations, we handle each job with professionalism. We understand the importance of a smooth and seamless finish, and our team works diligently to ensure that every project is completed to the highest standard of quality.
Our Services
We offer a comprehensive range of drywall taping services in New York City to meet all your needs. Our team of experienced professionals excels in drywall installation, mudding, taping, and finishing to deliver flawless results every time. Whether you require drywall repairs, renovations, or new installations, our skilled craftsmen are dedicated to providing top-notch service and exceeding your expectations.
With a focus on precision and quality craftsmanship, our drywall taping services are tailored to enhance the aesthetic appeal and structural integrity of your space. From residential homes to commercial properties, our team is well-equipped to handle projects of any size and complexity.
Reasons to Hire Our Drywall Taping Team
When looking for a reputable drywall taping team, it is essential to consider the expertise and experience they bring to the table. With years of combined experience in the industry, our skilled technicians are dedicated to delivering high-quality results that exceed our clients’ expectations. Whether it’s a small repair or a large-scale renovation, our team is committed to providing exceptional craftsmanship and timely completion to ensure customer satisfaction.
View Our Past Drywall Taping Projects in Brooklyn
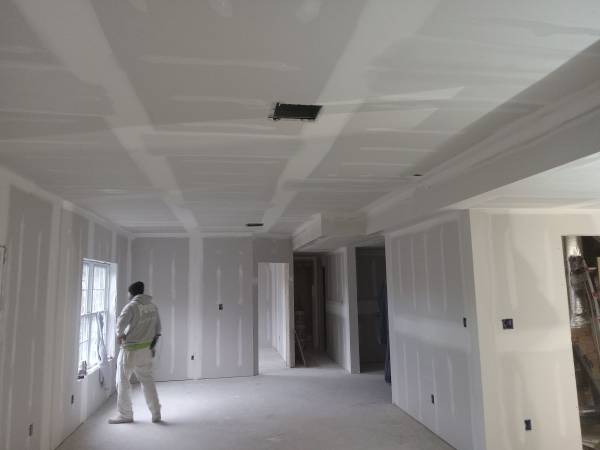
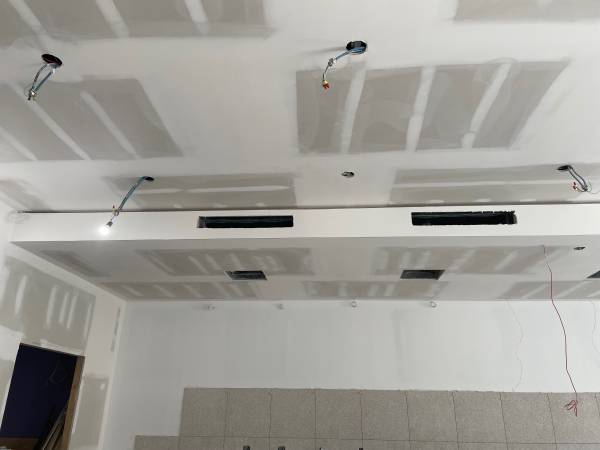
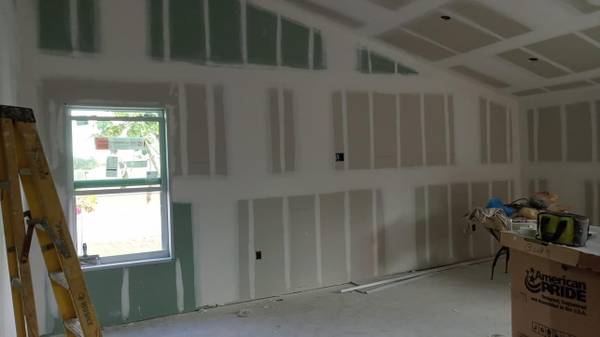
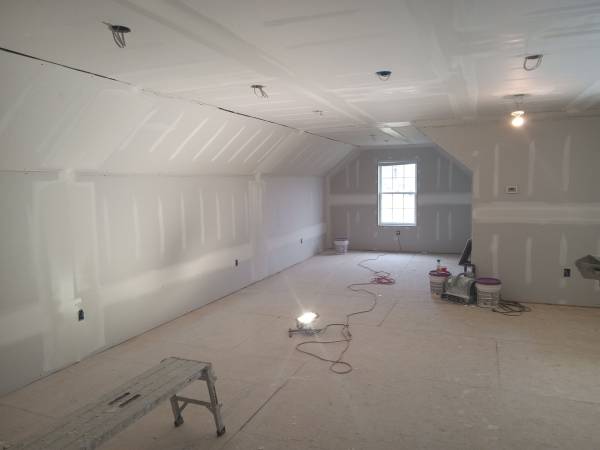
Our portfolio showcases a diverse range of past drywall taping projects completed throughout NYC by our skilled team. Each project exemplifies precision, attention to detail, and a commitment to exceeding client expectations. From residential renovations to commercial installations, our expertise in drywall taping is evident in the flawless finish and seamless results achieved on every job.
Whether it’s a small repair or a large-scale renovation project, our past work demonstrates our expertise in transforming ordinary spaces into extraordinary environments through expert drywall taping techniques.


Step-by-Step Guide to Our Drywall Taping Services
Our team follows a meticulous process to ensure a flawless finish for every project we undertake. The first step in our process is the preparation of the workspace. We carefully protect the surrounding areas with drop cloths and plastic sheeting to prevent any mess or damage. Our skilled technicians then inspect the drywall surface for any imperfections or repairs needed before proceeding to the taping stage.
Once the prep work is complete, we move on to the taping and mudding phase of the project. Our experienced professionals apply paper or fiberglass tape to the seams of the drywall and cover them with multiple layers of joint compound. This process is crucial to creating a smooth and seamless surface that is ready for painting or texturing.
Areas: We Serve Brooklyn, Queens, and Manhattan
Our team extends its professional services across the boroughs of Brooklyn, Queens, and Manhattan. We serve a wide array of locations in Brooklyn, ensuring that residents across the borough have access to our professional drywall taping services. We cater to neighborhoods such as Park Slope, Williamsburg, Brooklyn Heights, and more. Whether you are renovating a commercial space in Downtown Brooklyn or updating a residential property in Fort Greene, our skilled team is equipped to handle all your drywall taping needs with expertise and efficiency.
Additionally, our service areas extend to neighborhoods like Bushwick, Red Hook, Greenpoint, and beyond, showcasing our dedication to meeting the diverse needs of our clients throughout Brooklyn. From small-scale repairs in Carroll Gardens to full-scale drywall installations in Prospect Heights, our experienced team is well-versed in delivering top-notch results that exceed expectations.


Request a Quote: Contact Us for a Free Estimate on Drywall Taping
Are you in need of a professional estimate for your upcoming drywall taping project? Look no further. Our team of experienced professionals is ready to provide you with a detailed quote, tailored to fit your specific needs and budget. Simply reach out to us to schedule a consultation and take the first step towards achieving your drywall taping goals.
FAQs: Answers to Common Questions About Drywall Taping
Q: What is the typical timeline for a drywall taping project?
A: The timeline for a drywall taping project can vary depending on the size and complexity of the job. On average, a standard room may take anywhere from a few days to a week to complete. Factors such as the number of seams, the need for multiple coats of joint compound, and drying times can all impact the overall timeline. Our team of skilled professionals will work efficiently to ensure your project is completed in a timely manner without compromising on quality.
Q: Do I need to prepare my space before the drywall taping service?
A: Yes, there are a few steps you can take to prepare your space for a smooth drywall taping experience. Clearing the area of any furniture or belongings will allow our team to work more efficiently and effectively. Additionally, ensuring that the walls are clean and free of any debris or dust will help the tape adhere properly. Our team will guide you through the preparation process and provide any necessary assistance to ensure a successful outcome.
Customer Reviews: Read What Our Clients Have to Say About Our Work
When it comes to our clientele, words like “efficient,” “meticulous,” and “reliable” are often used to describe our work.
Our clients consistently highlight our attention to detail, timely project completion, and commitment to exceeding their expectations.
I know Joseph more the 10 years. He painted and plastered 5 places for me. His job is professional, clean, with very reasonable price. I will need wallpaper job this summer, so I just call him to do it for me. This company is highly recommended.
- Kate Grout, Brooklyn, NY
I hired Skimcoat Painting company for repair and skim coat of my three bedroom apartment. I got my apartment plastered and painted. Very satisfied, walls as good as new. Will hire again.
- Tatiana, Brooklyn, NY
Joseph very good painter. He with his crew repaired and painted entire apartment. Looks great, very fast, clean and professional. Apartment like new. Will hire again.
- Peter Lugovoy, Brooklyn, NY
Get Started: Begin Your Drywall Taping Project with Us Today
When embarking on a drywall taping project, enlisting the help of experienced professionals is essential for a seamless and high-quality finish. We deliver top-notch drywall taping services in Brooklyn.
Our skilled team of experts is dedicated to providing efficient and reliable drywall taping services that meet and exceed your expectations. From the initial consultation to the final touches, we work diligently to ensure that your project is completed on time and to your satisfaction. Contact us today to get started on your drywall taping project and experience the difference that a professional touch can make.
